Client: Contacts (Create, Edit, or Delete)
| Related Pages |
| Related Categories |
Client contacts store information in addition to the details provided in the Client Profile such as additional phone numbers, birthdays, email addresses and more.
Client contacts can be selected when sending an email, using Batch Send, creating a client memo letter, or enrolling a client in My Insurance Dashboard.
The Client Keyword Search used to find clients includes matches for contact fields, including the contact email addresses. The contact’s date of birth can be used for reports, such as birthday mailings and age-group-targeted marketing. Contact details are included with any Client Query that outputs to a spreadsheet (CSV File), including a list of email addresses.
Contents
Create A Client Contact
When a new policy number is processed in download and the operator allows download to create a new client, a client contact is automatically created. Client contacts can also be added within the Client Profile during the process of creating a new client using the contacts tab.
- Load a Client on a client tab.
- Expand the Contacts band and select Create Contact. (The contact band can be automatically expanded by enabling the user preference.)
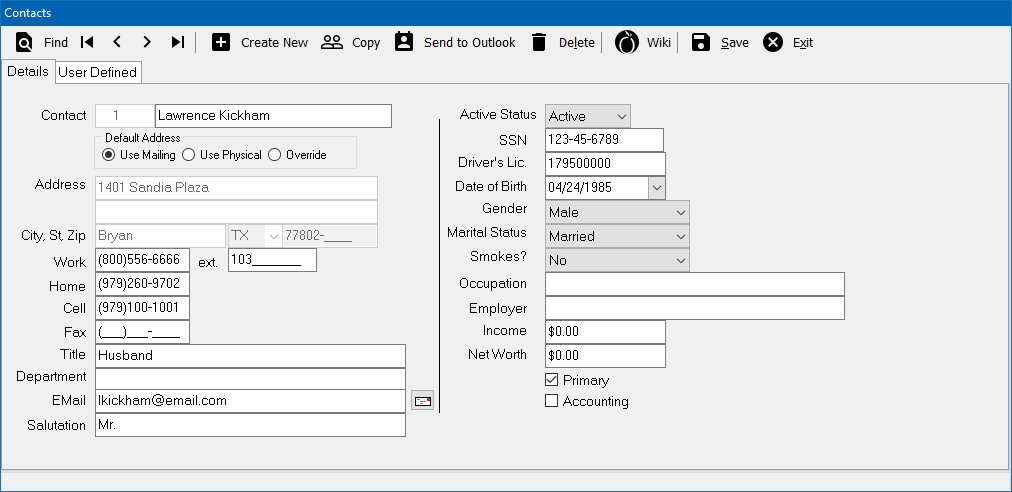
- Enter the contact Name.
- Select a contact address to Use Mailing, Use Physical, or Override. Client contacts which refer to the client physical or mailing address will be automatically updated if the client profile address is changed.
- Two phone numbers will pre-fill based on the client type of Regular Personal or Regular Commercial.
- Enter the contact Email and any additional information.
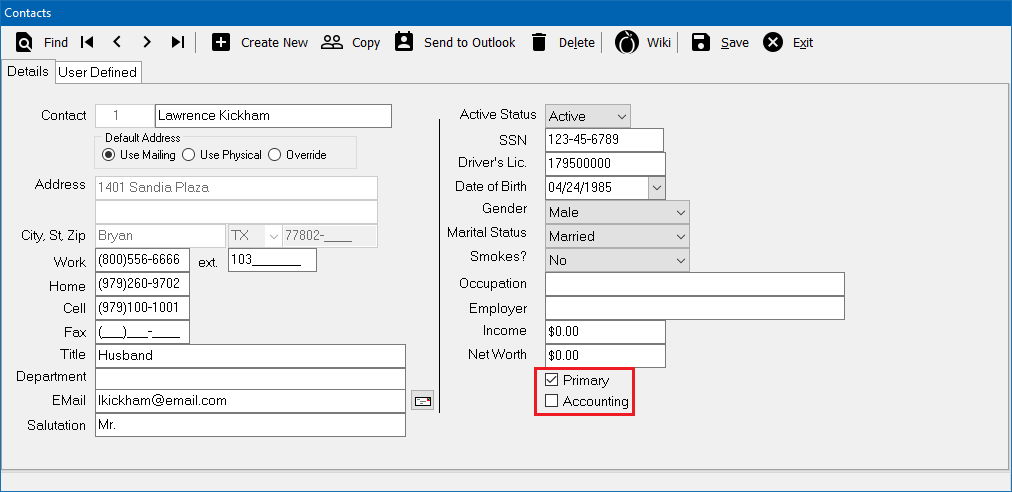
- A contact set as Primary will display at the top of the contact list. This value is unique per client. Generic Merge codes for client contact will default to the primary contact, or lowest contact number if not applicable.
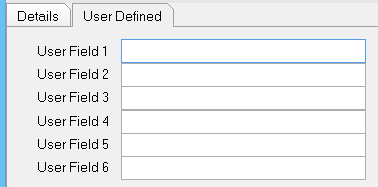
- Select the User Defined tab to store additional information such as Height and Weight. The user fields have corresponding merge codes that can be used within Memowriter.
- Select Save. (Requires Security System: Profiles -> Client -> Entry access.)
- Select Exit.
Copy Contacts From Another Client
One or more contacts can be copied from another client, such as a related client profile.
- Load a Client on a client tab.
- Expand the Contacts band and select Create Contact. (The contact band can be automatically expanded by enabling the user preference.)
- Select Copy.
- Enter the existing source client number or use the Client Keyword Search to find the client by left-clicking the display area labeled "Must Enter Client".
- Select the desired contacts, and select Copy.
- Exit the profile screen and the copied contacts will display on the client tab.
Copy Contacts From Drivers
Contacts can be created by copying information from one or more driver profiles.
- Load a Client on a client tab.
- Expand the Contacts band and select Create Contact. (The contact band can be automatically expanded by enabling the user preference.)
- Select Copy.
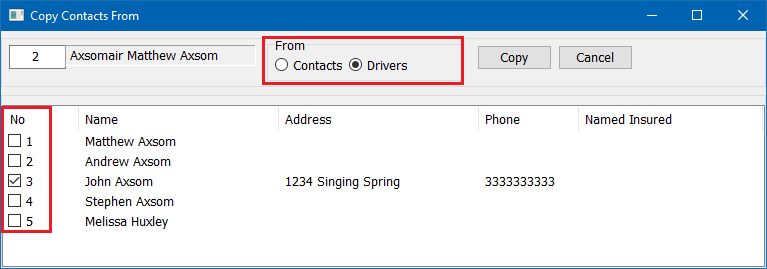
- Select From -> Drivers, and select the existing drivers to copy as contacts.
- Select Copy when finished.
Any selected item will always create a new contact, and will merge both driver information with client information if not defined. For example, if the driver address is not defined within the driver schedule, the contact will automatically use the client mailing address.
View Or Edit A Client Contact
Client contacts are listed as the top band on the client dashboard.
- Load a Client on a client tab.
- Expand the Contacts band. (The contact band can be automatically expanded by enabling the user preference.)
- Client contacts will automatically be sorted in the following order: Primary, Accounting, then alphabetically by first name.
- The primary contact is display in green and the accounting contact(s) in purple.
- Inactive contacts are hidden from the contacts band. To view the details of an inactive contact, select Create Contact -> Find -> Show Inactive.
- Left-Click on a contact to view the full contact details.
- Edit the contact details and select Save. (Requires Security System: Profiles -> Client -> Entry access.)
- Exit the contact profile screen.
Export A Client Contact to Microsoft Outlook
Client contacts can be exported directly to Microsoft Outlook.
- Load a Client on a client tab.
- Expand the Contacts band. (The contact band can be automatically expanded by enabling the user preference.)
- Left-Click on a contact to view the full contact details.
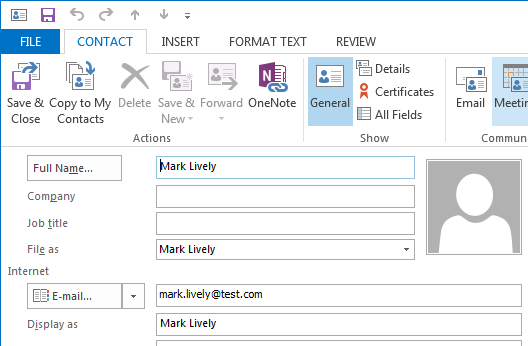
- Select Send to Outlook.
- The option will display the extracted contact details within Microsoft Outlook for confirmation.
- Save the Microsoft Outlook contact and exit the contact profile screen.
Delete A Client Contact
A contact who is no longer active should be marked as inactive, not deleted. To mark a contact as inactive, edit the contact and set the Active Status to Inactive.
- Load a Client on a client tab.
- Expand the Contacts band. (The contact band can be automatically expanded by enabling the user preference.)
- Left-Click on a contact to view the full contact details.
- Select Delete. (Requires Security System: Profiles -> Client -> Global access.)
- Select Yes to confirm. (A deleted contact cannot be restored.)
- Exit the contact profile screen.

