Report: Invoice Query: Cancellation Invoices
Jump to navigation
Jump to search
| Related Pages |
| Related Categories |
Overview
This report will provide a listing of Cancelled Invoices, and display the Invoice Amount, Agency Commission, and Producer Commission.
The original amount column will indicate the invoice amount, agency commission, and producer commission. (For Broker Clients, the Producer Commission will show in the Paid Amount column.)
Process
See Report: Invoice Query for additional information.
- Select Reports -> Invoice Query.
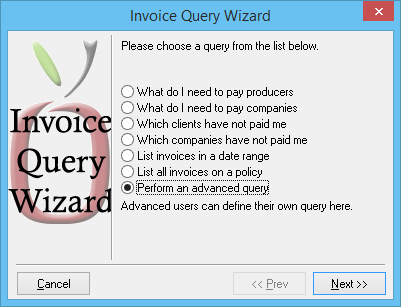
- Press CTRL + A to access the Advanced Query. Select Perform an advanced query and Next.
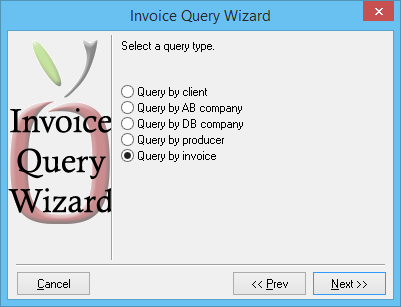
- Select Query by Invoice, then Next.
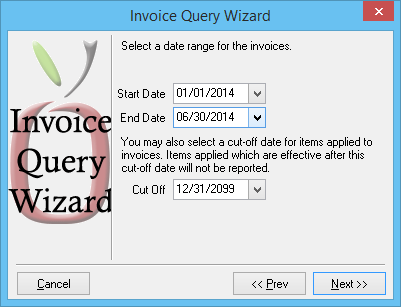
- Enter a Start Date and End Date for the range of invoices. Leave the Cut-off Date at 12/31/2099 and select Next.
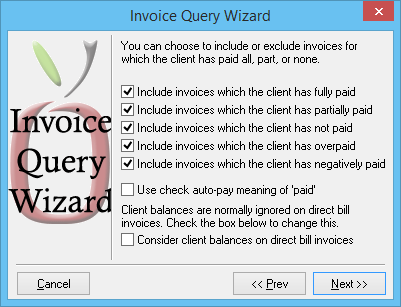
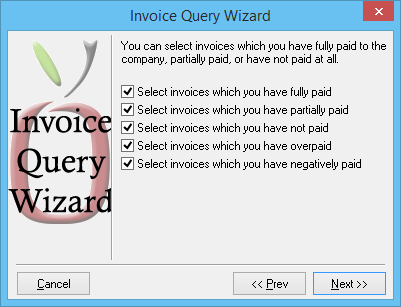
- Check all options on the client paid screen, then select Next.
- Check all options on the paid to company screen, then select Next.
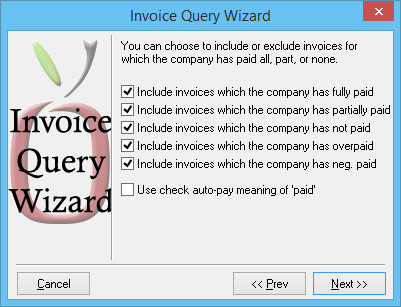
- Check all options on the paid by company screen, then select Next.
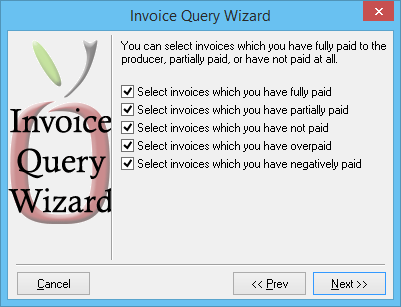
- Check all options on the producer paid screen, then select Next.
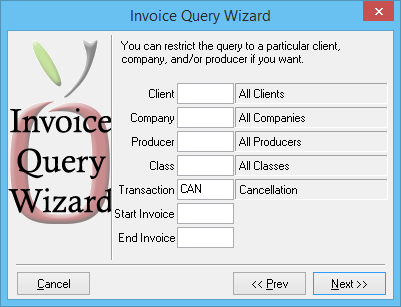
- Enter the Cancellation transaction code in the Transaction field, then select Next.
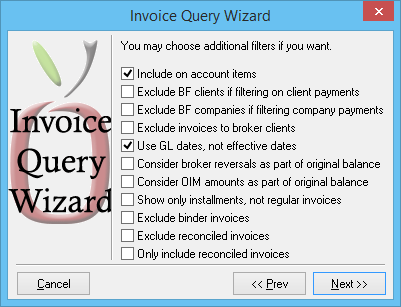
- Leave the defaults for Additional Filters screen, and select Next. (Include On-Account and Use GL Date should be defaults.)
- Leave the department code blank, and select Next.
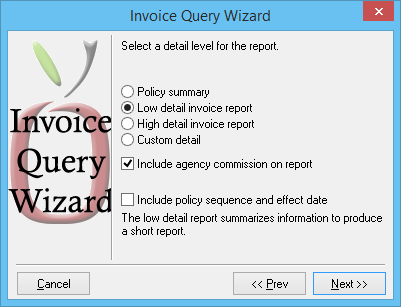
- Select Low Detail and Include Agency Commission. Select Next.
- Select the desired sort option, and select Next.
- Select the Preview or Print.
