Difference between revisions of "Print a Check or Range of Checks"
(→From the My Newton Campus Forum: Frequently Asked Questions: removed forum) |
|||
| Line 34: | Line 34: | ||
Any printable check [[#Reprint a Single Check or a Batch of Checks|can be reprinted individually, or reprinted as a batch]]. | Any printable check [[#Reprint a Single Check or a Batch of Checks|can be reprinted individually, or reprinted as a batch]]. | ||
| − | |||
| − | |||
| − | |||
| − | |||
| − | |||
== Setup and Print Options == | == Setup and Print Options == | ||
Prior to printing checks, verify the [[Agency_Profile#Check_Form_Type|check form type is configured]]. | Prior to printing checks, verify the [[Agency_Profile#Check_Form_Type|check form type is configured]]. | ||
Revision as of 21:32, 5 November 2015
| Related Pages |
| Related Categories |
All regular check transactions can be printed individually, or in a batch.
Any printable check can be reprinted individually, or reprinted as a batch.
Contents
Setup and Print Options
Prior to printing checks, verify the check form type is configured.
See: Order Printable Checks to order pre-printed check stock.
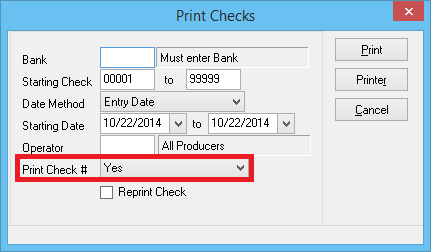
When a check is printed, the internal check number can be printed on the check if Print Check # -> Yes is selected.
Print a Single Check
- Load an existing check using the Express Checks interface.
- Select Print.
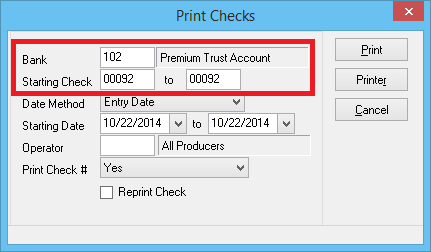
- The Bank Code and Check Number will pre-fill.
- Select Printer to verify the selected check printer, and select Print.
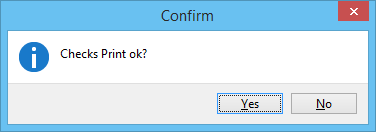
- Yes to confirm the checks printed successfully, or No to leave the check saved as Not Issued.
Print a Batch or Range of Checks
Any regular check matching the bank and date criteria will be included in a single batch unless:
- The check has been previously flagged as Issued (Printed)
- The check was created as Check Type -> Do Not Print
- The check was created as Check Type -> Wire Transfer.
Prior to printing a range of checks, it is recommended to use the a check register report to preview the pending transactions.
- Select AP -> Print Checks.
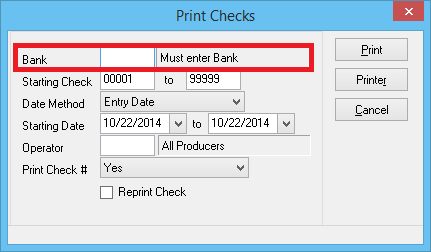
- Enter the Bank Code.
- Change the Date Method if needed. (Default = Entry Date)
- Change the Start Date and End Date if needed. (Default = Current Day)
- Select Printer to verify the selected check printer, and select Print.
- Yes to confirm the checks printed successfully, or No to leave the check saved as Not Issued.
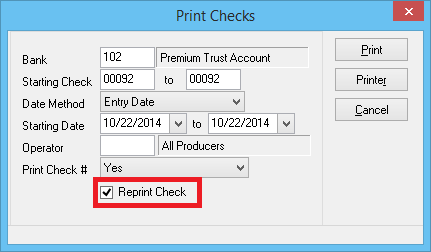
Reprint a Single Check or a Batch of Checks
Prior to reprinting a check, if the check number needs to be changed, see: Express Checks: Reissue a check with a new number. After reissuing a check with a new number, follow the normal steps above to print a check or range of checks.
If a check or batch of checks has already been printed, an option exists to ignore the Issued/Printed status, and reprint any valid check.
- Follow the instructions above to select a single check, or a batch of checks.
- Prior to selecting Print, select Reprint Check.
- Select Printer to verify the selected check printer, and select Print.
- Yes to confirm the checks printed successfully, or No to leave the check saved as Not Issued.
