Difference between revisions of "Memowriter: Client Memo"
Jump to navigation
Jump to search
(removed marketing) |
|||
| Line 1: | Line 1: | ||
| − | + | [[Category:Memo Writer]] | |
<table class="infobox" cellspacing="5" style="background-color: #FFFFFF; width:27em; text-align:left; border-spacing: 2px; line-height:1.5em;"> | <table class="infobox" cellspacing="5" style="background-color: #FFFFFF; width:27em; text-align:left; border-spacing: 2px; line-height:1.5em;"> | ||
<tr style="background-color: #bdbdbd; text-align: center; font-weight:bold;"> | <tr style="background-color: #bdbdbd; text-align: center; font-weight:bold;"> | ||
| Line 21: | Line 21: | ||
<td> | <td> | ||
<ul> | <ul> | ||
| − | |||
<li>[[:Category:Memo Writer|Memo Writer]]</li> | <li>[[:Category:Memo Writer|Memo Writer]]</li> | ||
</ul> | </ul> | ||
Revision as of 14:50, 20 August 2015
| Related Pages |
| Related Categories |
Create a Client Memo Using a Memo Template
An existing Memo Writer Library Template must be configured and saved.
- Open the Client on one of the four Client Tabs.
- Left-Click to expand the Memos band.
- Select Create Memo.
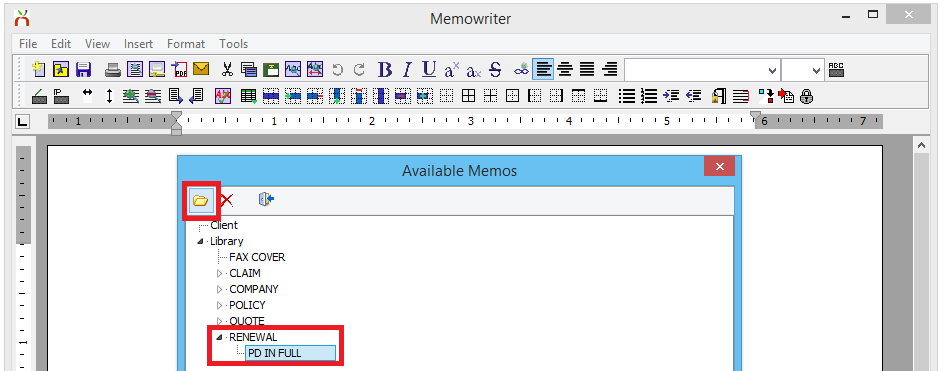
- When prompted to select the Memo Writer Library Template and select the Memo Name and select Open.
- The Memo Writer Library Template will be displayed.
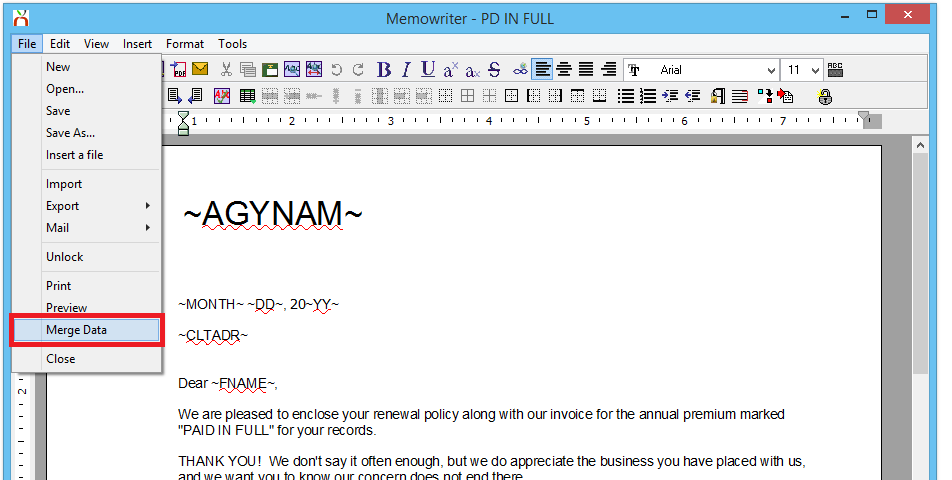
- Select File -> Merge Data to replace the merge codes with client data.
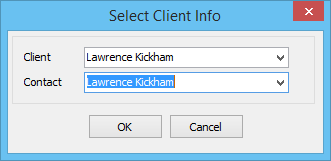
- When prompted, confirm the client and contact details, then select OK.
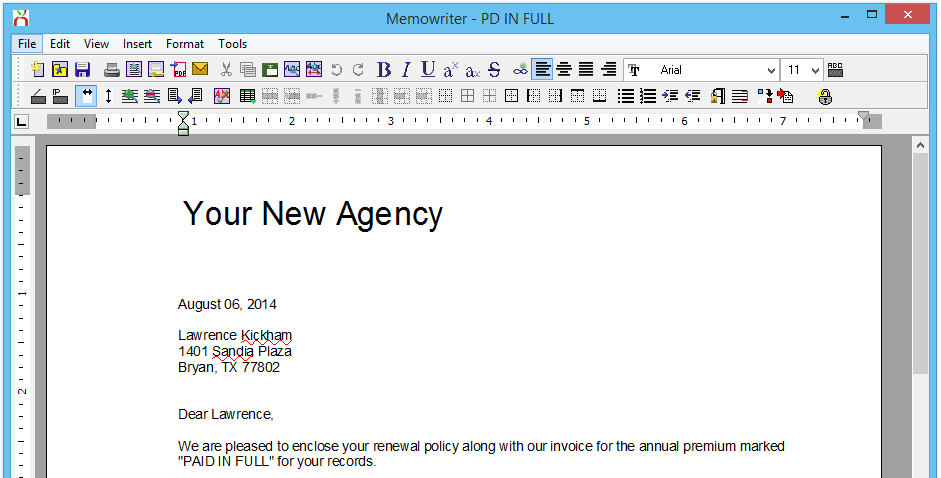
- The merge codes will be replaced with client data.
- Select File -> Print, verify the printer, then select Ok. An automatic .PDF file will be saved as an attachment on the client.
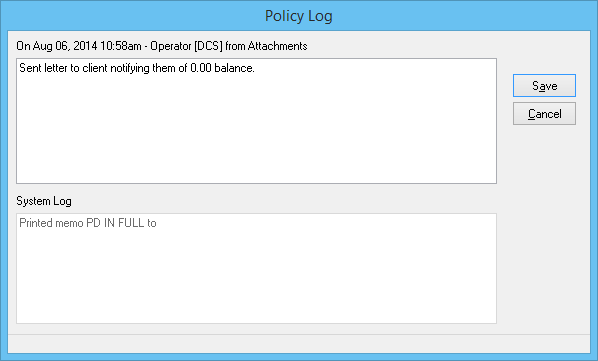
- When prompted, add any additional information to the Activity Log window. Select Save when finished.
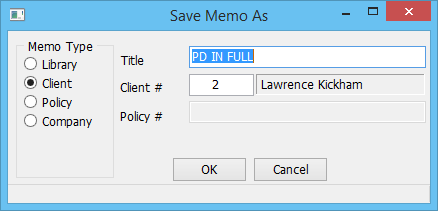
- To save an editable client memo in addition to the automatic .PDF file, select File -> Save As.
- The memo Title and client number will automatically populate. Change the Title if desired, and select OK.
- Exit Memo Writer.
Delete an Existing Client Memo
Deleting a memo document cannot be reversed. The document will be permanently removed and cannot be recovered.
- Open the Client on one of the four Client Tabs.
- Left-Click to expand the Memos band.
- Select Create Memo. (If the memo is saved to a policy, left-click the policy number within the Policies band to open Policy Express, then select Create Memo)
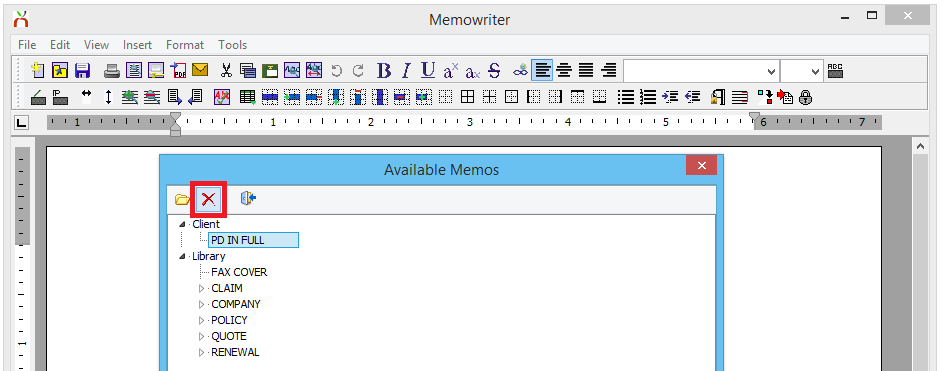
- When prompted, select to highlight the saved memo. (Do not double-click or select Open)
- Select the red X to Delete.
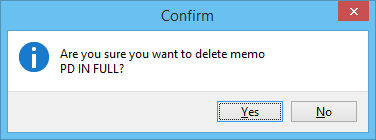
- When prompted, select Yes to confirm.
- Exit Memo Writer.
After deleting a memo, activity associated with the memo will still be recorded, including any automatically generated system .PDF attachments.

