Non-Policy Related Checks
Jump to navigation
Jump to search
| Related Pages |
| Related Categories |
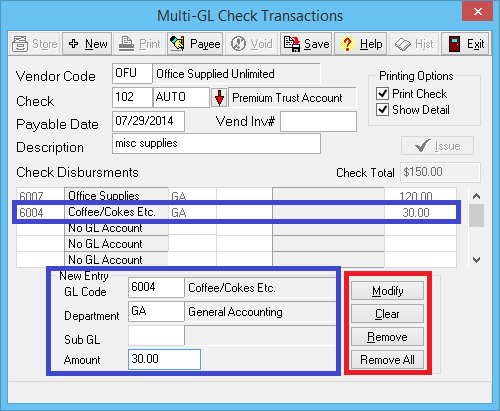
All non-policy related expense transactions are recorded as wire or regular checks using the Non-Policy Related Checks interface.
The interface supports multiple General Ledger Profile expense entries per transaction. The checks are all recorded under GL 2130: Vendor Payables. When a transaction is recorded, the debit is recorded against the entered Bank Profile, which can be a bank account, or an alternate bank account such as a credit card.
Click here for instructions to record expense entries using a credit card, instead of a bank account.
Vendor Payables - Create Check Without A Template
See Vendor Payables - Using Existing Check Template to create a check from a saved template.
- Select AP -> Check Transaction -> Non-Policy Related.
- Enter the Vendor Code.
- Enter the Bank Code.
- Enter the Payable Date.
- Enter a short Description.
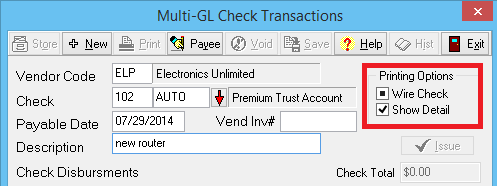
- For Printing Options,select Print Check twice to set to Wire Check.
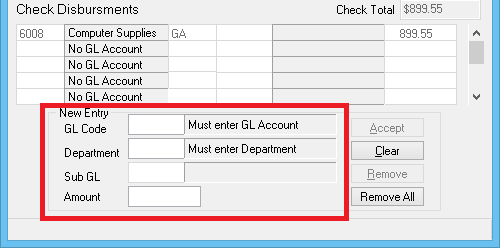
- Enter the GL Code for the expense.
- Enter the Department Code.
- Enter the Sub GL if necessary.
- Enter the Amount.
- Select Accept.
- Repeat steps 7-11 until all GL entries are listed.
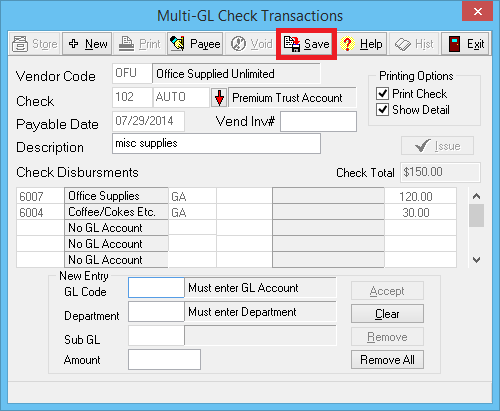
- When finished, select Save, then Print or Exit.
Vendor Payables - Create Check Template
- Select AP -> Check Transaction -> Non-Policy Related.
- Enter the Vendor Code.
- Enter the Bank Code.
- Enter the Payable Date.
- Enter a short Description.
- For Printing Options,select Print Check twice to set to Wire Check.
- Enter the GL Code for the expense.
- Enter the Department Code.
- Enter the Sub GL if necessary.
- Enter the Amount.
- Select Accept.
- Repeat steps 7-11 until all GL entries are listed.
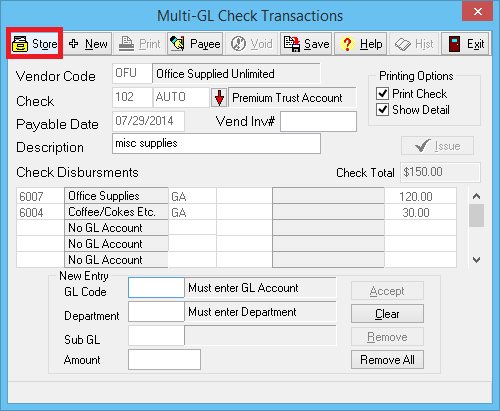
- When finished, select Store to save the check template. Do Not Select Save.
- Selecting Store will not create a check, it will only create a check template. After storing the template, to create a check, select Save or see the section below.
Vendor Payables - Using Existing Check Template
- Select AP -> Check Transaction -> Non-Policy Related.
- Enter the Vendor Code. The previously stored check template details will load.
- To edit an existing Check Disbursement Amount, enter the matching GL Code and Department. Enter the new Amount, and select Modify.
- To remove an existing Check Disbursement, enter the matching GL Code and Department. Select Remove.
- To remove all existing Check Disbursements, select Remove All.
- Select Store to update the check template with the new Check Disbursements.
- To create a check, select Save.
