Memowriter: Create A Form Letter Template
Revision as of 21:33, 29 July 2014 by Mlively (Talk | contribs) (→Create a Library Memo Template: added two more sections)
| Related Pages |
| Related Categories |
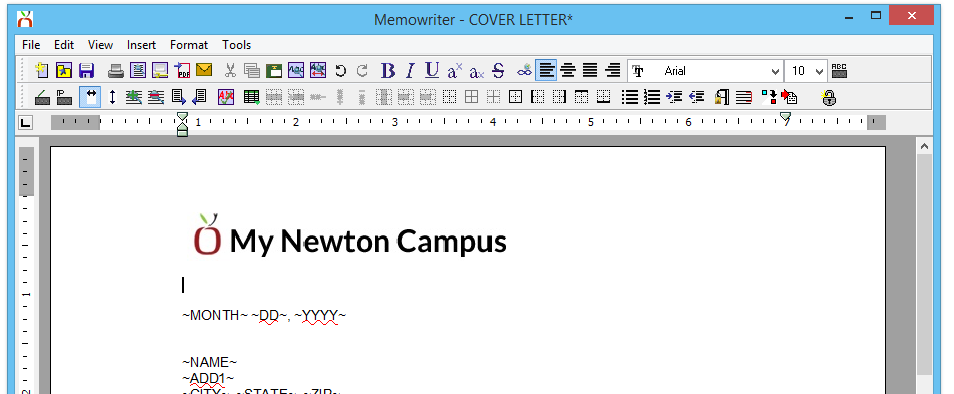
Memo Writer provides the ability to create form letter templates that can be used to quickly merge data fields, with client or policy information. The memos can be merged individually, or in a batch through a marketing query.
Memos can be used in the following ways:
- Client Memo.
- Policy Memo.
- Company memo.
- Body of an email.
- Attachment in a printed, faxed, or emailed package.
- Marketing letters.
- Policy Reports.
Contents
Create a Library Memo Template
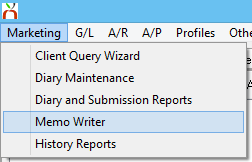
- Select Marketing -> Memo Writer.
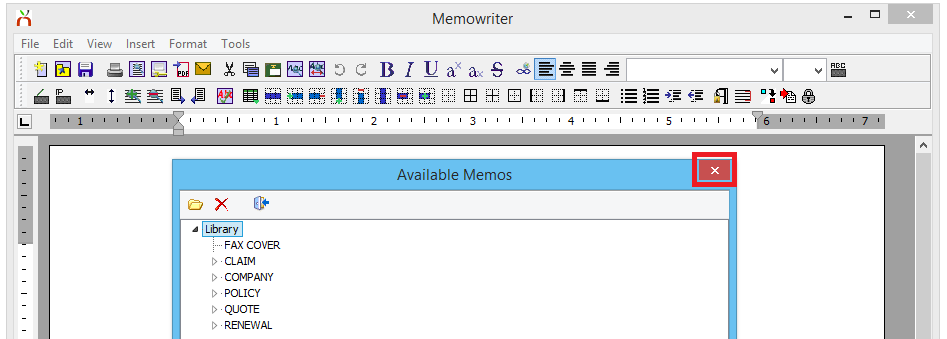
- When prompted to open an existing memo, select the X to close.
- Enter the body of the memo template, including data merge fields, a company logo. You can also import an existing document.
- When finished, select File -> Save As.
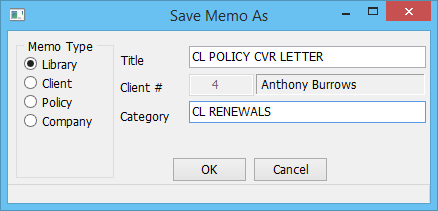
- Enter the Title and Category. Select OK to save.
- To prevent accidental template changes, select File -> Lock to lock the memo.
- Exit Memo Writer.
Add Merge Fields to Memo Writer
Insert a Logo into Memo Writer
- Select Marketing -> Memo Writer.
- When prompted to open an existing memo, choose an existing memo template, or select the X to close and start a new memo template.
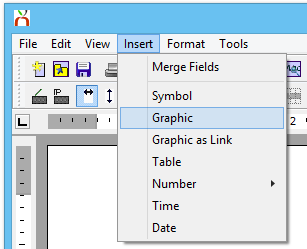
- Place the mouse cursor at the desired location and select Insert -> Graphic.
- Select the image file and select Open.
- The graphic will be placed in the body of the memo template.
- When finished, select File -> Save As.
- Enter the Title and Category. Select OK to save.
Import Existing Documents into Memo Writer
Newton can import Rich Text Format (RTF) files. In Microsoft Word, select save as and choose the RTF format.
- Select Marketing -> Memo Writer.
- When prompted to open an existing memo select the X to close and start a new memo template.
- Select File -> Import.
- Select the source document file (.RTF) and select Open.
- The document will be imported into the body of the memo template.
- When finished, select File -> Save As.
- Enter the Title and Category. Select OK to save.
